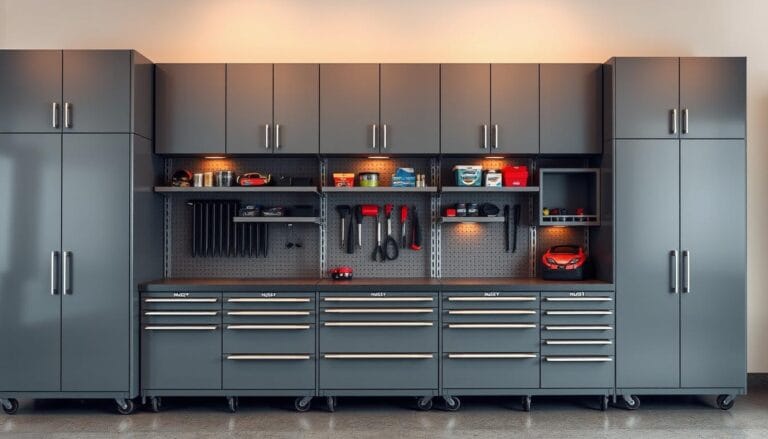
Transform Your Space with a Tool Wall Organizer for the Garage
Table of Contents
Every weekend warrior knows the frustration of a cluttered garage. Tools are scattered everywhere, wasting valuable time. I remember when I realized my garage needed a big change—a chaotic mess that was taking away my weekend joy.
A tool wall organizer is more than just storage. It’s a game-changer for your garage. With a strategic tool wall, you can take back your space, work more efficiently, and have a professional-looking workspace. Every DIY project will be smoother and more fun.
Garage organization becomes an art with a well-designed tool wall. Whether you’re a pro mechanic or a weekend handyman, a good tool wall changes how you work. Imagine finding what you need in seconds, no more searching or clutter.
This guide will show you how to create the ultimate tool wall organizer. You’ll learn about the right mounting systems and using your garage’s vertical space. You’ll discover ways to turn your workspace into an organized, efficient haven for your tools.
Understanding the Benefits of a Garage Tool Wall System
Turning your garage into a work zone starts with a tool wall. A good tool wall changes how you organize and use your tools. It makes projects more fun and efficient.
Improving your garage’s use is key. Moving tools off the floor and onto a wall frees up space. You’ll discover new ways to use your garage.
Space-Saving Advantages
Old ways of storing tools take up too much floor space. A tool wall uses the wall to save space. You get more room for cars, work, or more tools without losing access to them.
Improved Accessibility and Organization
Ever wish you could find tools fast? A well-planned tool wall makes this happen. Each tool has its place, so you don’t waste time searching. This means you finish projects quicker and feel less stressed.
Professional Workshop Appearance
A neat tool wall does more than hold tools. It makes your garage look like a pro’s workshop. Visitors will see your garage as tidy and well-organized. This shows you care about quality and detail.
Essential Components of an Effective Tool Wall Organizer
To make a great wall-mounted tool rack, pick the right parts. Start by choosing mounting systems that fit your tools well. This is the first step in organizing your garage.
The base of a top tool wall is strong panels. Pegboards and slatwall systems are flexible for hanging tools. They let you add hooks, brackets, and holders for all your tools, big or small.
Choosing the right hooks is key for tool organization. Hooks come in different shapes and sizes for each tool. Use heavy-duty metal hooks to hold weight and protect your tools. U-shaped hooks are good for long tools, and curved hooks fit wrenches and pliers well.
Think about the weight your hooks can hold. Get mounting hardware and hooks that can handle your tools’ weight. This keeps your rack safe and stable for a long time.
Choose parts that can be changed and added to. This makes your tool storage grow with you. Your garage will go from messy to a well-organized workshop.
Planning Your Perfect Tool Wall Layout
Creating a good tool storage system needs careful planning. Start by understanding your space and tools. A well-planned tool wall can make your garage look professional.
Measuring Your Available Wall Space
First, measure your garage wall accurately. Use a tape measure for width and height. Note any obstacles like outlets or windows that might affect your design. Make a simple sketch to see how your tools could fit.
Assessing Your Tool Inventory
Count your tools before setting up storage. Organize them by type and how often you use them. Put your most used tools in easy spots. This way, your garage stays organized and easy to use.
Considering Traffic Flow
Your tool wall should not block the way. Ensure there’s ample space for easy movement around the area.Place heavy tools lower and lighter ones higher. Plan your storage to fit your work flow.
Selecting the Right Mounting System for Your Needs
Choosing the right mounting system for your tool wall is key. It greatly affects your garage storage. Different systems offer benefits for various tool collections and workspaces.
Pegboards are a classic choice for tool walls. They have hooks and accessories that you can place anywhere. This makes it easy to organize your tools, especially lighter ones.
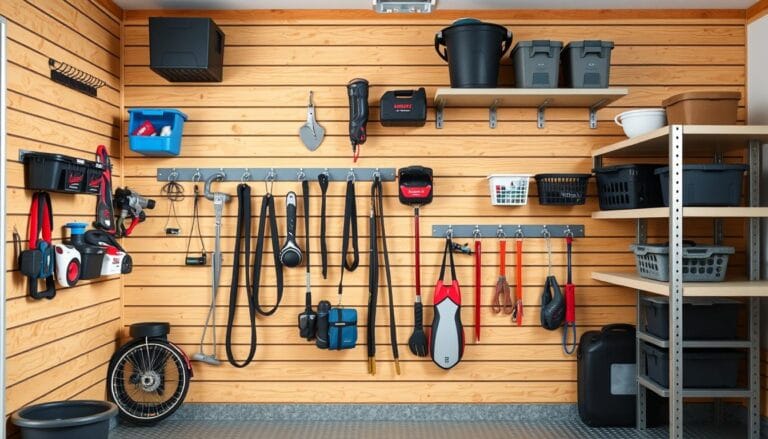
Slatwall panels are for those who need more strength. They can hold heavier tools and professional equipment. The panels have grooves for special hooks and shelves for different tools.
French cleats are another smart choice. They offer strong support and a clean look. You can easily change your tool wall setup as your tools change.
When picking a system, think about three things: tool weight, wall space, and budget. Match your needs to find the best tool wall organizer. This will make your space more efficient and organized.
Both professional workshops and home garages can benefit from a well-planned tool wall. The right system makes your workspace more functional and organized.
Best Materials for Durable Tool Wall Organization
Choosing the right material for your tool wall is key for a lasting storage solution in your garage. Each material has its own benefits that can make your workspace better and keep your tools safe.
Metal Organizers: Strength and Durability
Metal tool wall organizers are very durable and can handle heavy tools and tough garage conditions. They often have a powder-coated finish to prevent rust and look sleek.
Wooden Organizers: Classic and Customizable
Wooden tool systems give a warm, classic look. Hardwoods like maple or oak are strong and can be customized. You can paint, stain, or change wooden panels to fit your garage’s style.
Pegboard and Slatwall: Versatile Storage Options
Pegboard and slatwall systems are great for flexible tool storage. They have many places to hang things, letting you arrange hooks, shelves, and holders as needed. Pegboards are good for lighter tools, while slatwalls can hold heavier items with the right hardware.
Think about what you need, your budget, and the tools you store when picking your material. Each choice has its own advantages for a well-organized and efficient workspace.
Professional Installation vs. DIY Setup
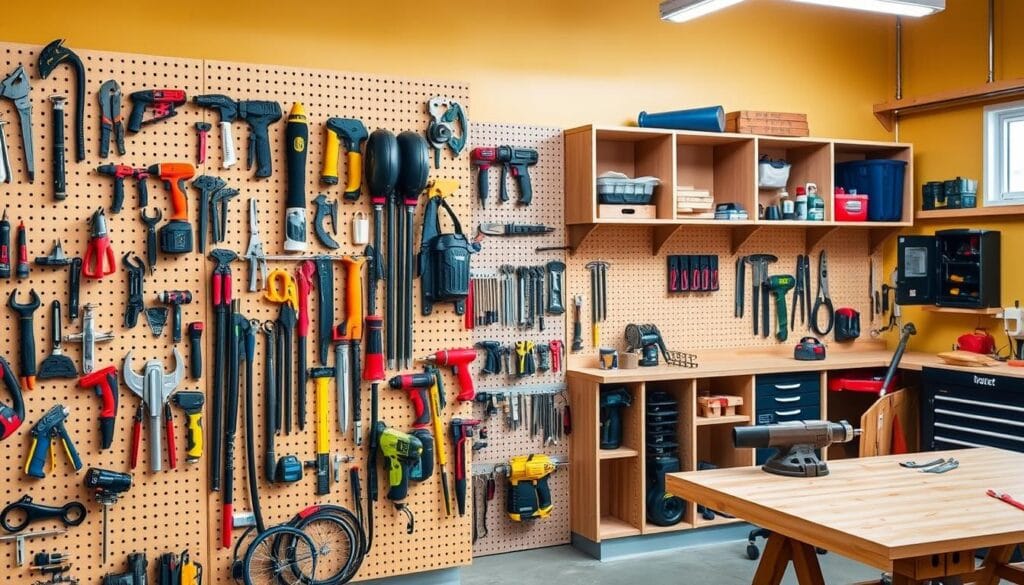
Deciding between professional installation and DIY for your workshop storage is tough. It depends on several important factors. These factors affect the success of your tool wall project.
Professional installation brings expertise and precision. Skilled technicians know how to mount tools correctly. They make sure your tool wall is strong and uses your garage space well. They also know about wall anchoring, weight distribution, and the best tool placement.
DIY setup can save money and give you a sense of pride. If you’re good with tools and have basic carpentry skills, you might like making your own tool wall. First, get the right tools like a stud finder, level, drill, and mounting hardware.
Think about your skills, time, and budget when deciding. DIY is good for simple pegboard systems. But, complex metal track or custom designs might need a pro. Measure your wall space well and plan your tool organization before starting.
DIY tips include:
– Finding wall studs accurately
– Ensuring the wall can hold the weight
– Laying out your tool wall correctly
– Using quality mounting materials
No matter your choice, a well-made tool wall will change your workspace. It will make tools easy to find and your garage more organized.
Tool Wall Storage Solutions for Different Tool Types
Setting up a good tool organization system needs careful planning. A well-made wall-mounted tool rack can change your garage into a better workspace. It’s important to organize your tools based on their type.
Smart tool storage is more than just hanging them up. You should create a system that keeps your tools safe and easy to find.
Power Tool Organization Strategies
Power tools need special care in your wall-mounted tool rack. Use shelves with built-in charging stations for battery tools. Mount them horizontally with cord hooks to avoid tangles and protect electrical parts.
Choose strong brackets that can hold the weight of drills, saws, and sanders.
Hand Tool Display Methods
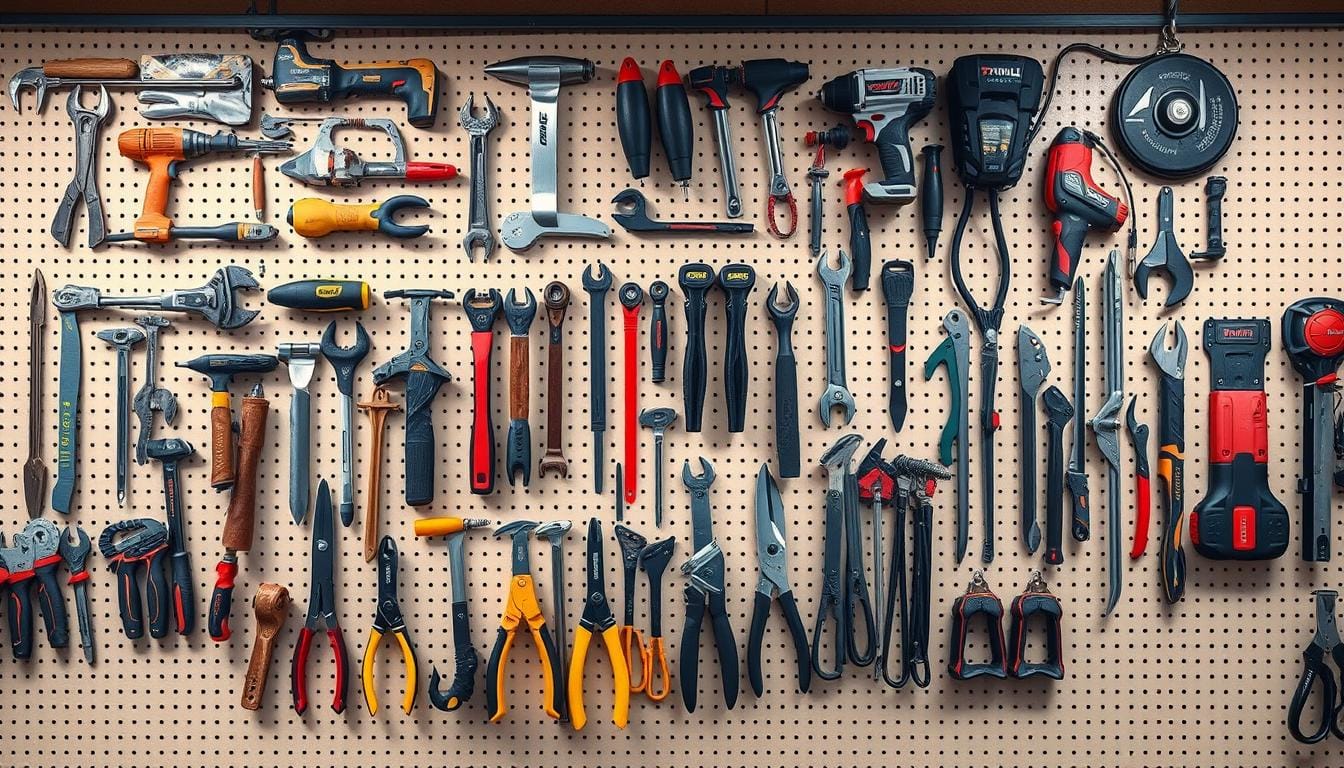
Hand tools do well with pegboard or slat wall systems. Magnetic strips are perfect for metal tools like wrenches and screwdrivers. Hooks and special holders keep chisels, hammers, and pliers organized.
Using colors or tool outlines helps keep things tidy and makes it easy to spot missing tools.
Garden Tool Integration
Big garden tools need strong mounting solutions. Use wall racks with deep hooks for rakes, shovels, and long tools. This saves space and prevents damage.
Make sure your wall can handle the weight with heavy-duty anchors and supports.
Maximizing Vertical Space in Your Garage
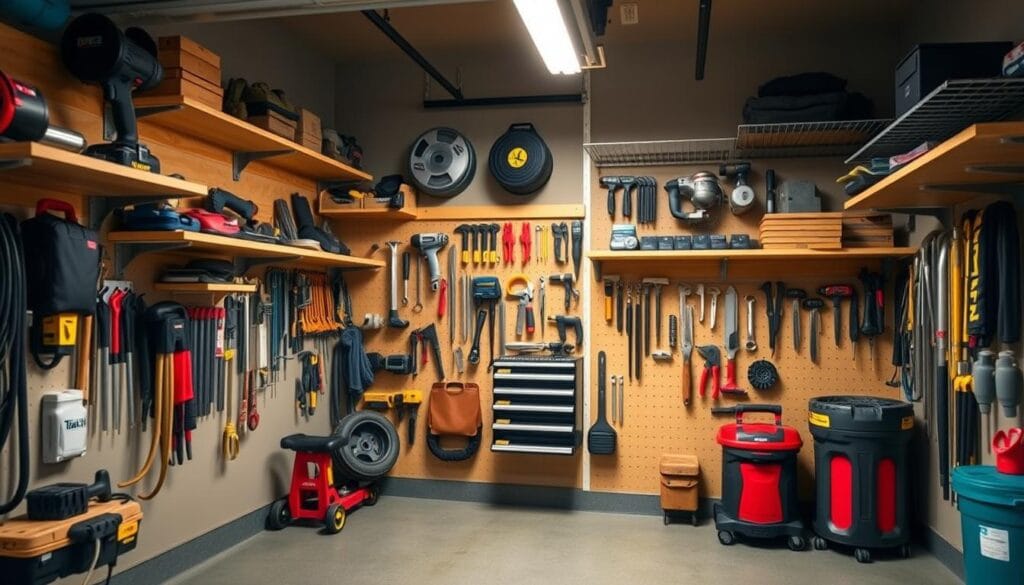
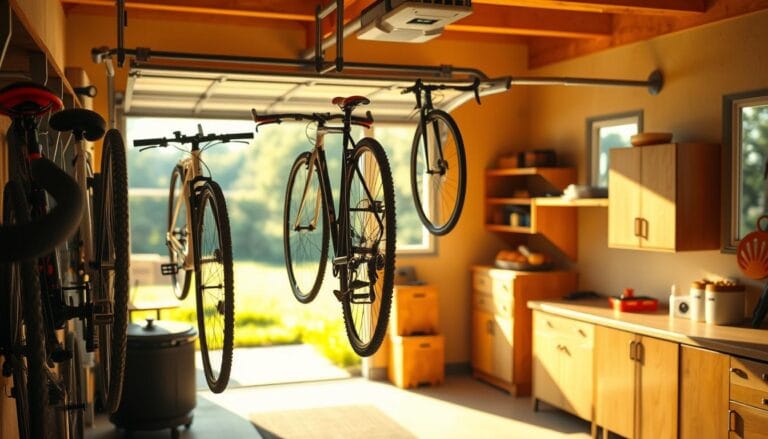
Thinking vertically can change your garage’s storage game. Many people miss out on using wall and ceiling space. This leaves a lot of room unused. With smart vertical storage, you can make your garage more organized without needing more space.
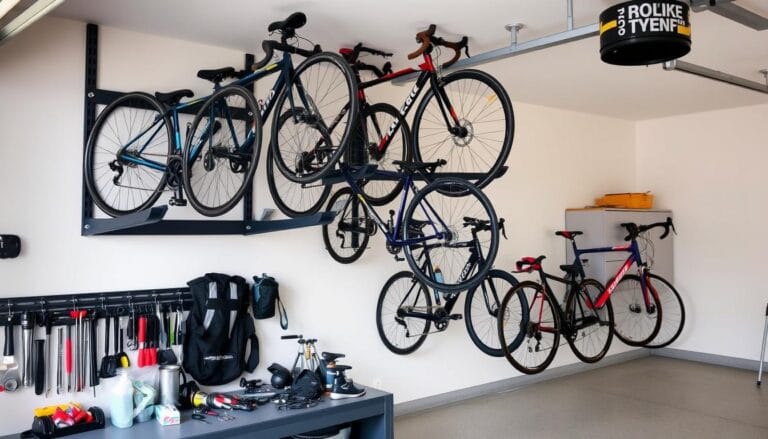
Begin with overhead storage racks for seasonal items or big containers. These racks save floor and wall space for what you use most. Tall cabinets also offer lots of storage, keeping things dust-free and dry.
Your tool wall is key to a good vertical storage system. Add hooks, shelves, and special holders that go up. Use magnetic strips, pegboards, and adjustable tracks for hanging tools and more.
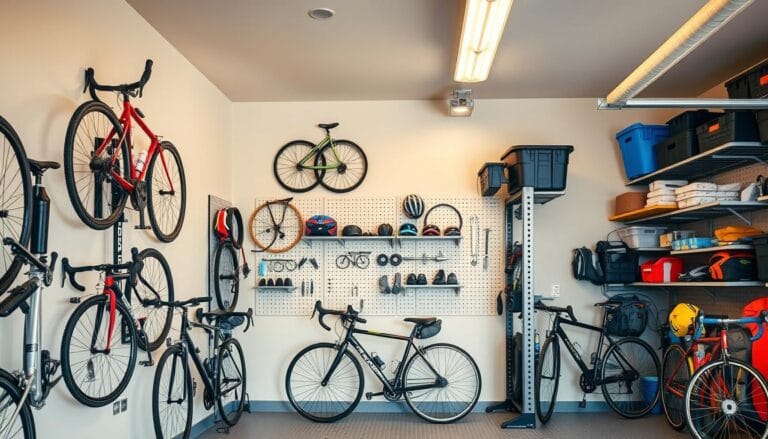
Make the most of your garage walls with storage that goes from floor to ceiling. Adjustable shelving and modular systems can be tailored to your needs. Keep things you use often easy to reach, and store less-used items higher.
Vertical storage is about more than just saving space. It makes your garage more efficient and easy to use. With the right plan, you can turn a messy garage into a tidy, functional space.
Maintenance and Updating Your Tool Wall System
Keeping your tool storage system in top shape needs regular care and updates. Your tool organization should grow with your workshop needs. Regular upkeep keeps your wall-mounted tool storage working well and looking good.
Begin by checking your tool wall every three months. Look for loose parts, wear on pegboards, and rust on hooks. Clean your tools and storage with the right cleaners to stop dirt and rust.
As your tool collection grows, you might need to change how you organize. Wall systems that can change help you adjust to new tools. Look for designs that grow with your collection.
Use colors or labels to keep your tools in order. This makes finding tools easy and keeps everything in its place. Reorganizing now and then can make your workspace better and more productive.
A well-kept tool wall is more than storage. It shows your skill and efficiency. Spend time on upkeep to keep your system running smoothly.
Cost-Effective Organization Solutions
Building an efficient tool wall doesn’t have to be expensive. Smart homeowners can make their garage storage better without spending a lot. The right tool wall organizer can offer great functionality while staying within your budget.
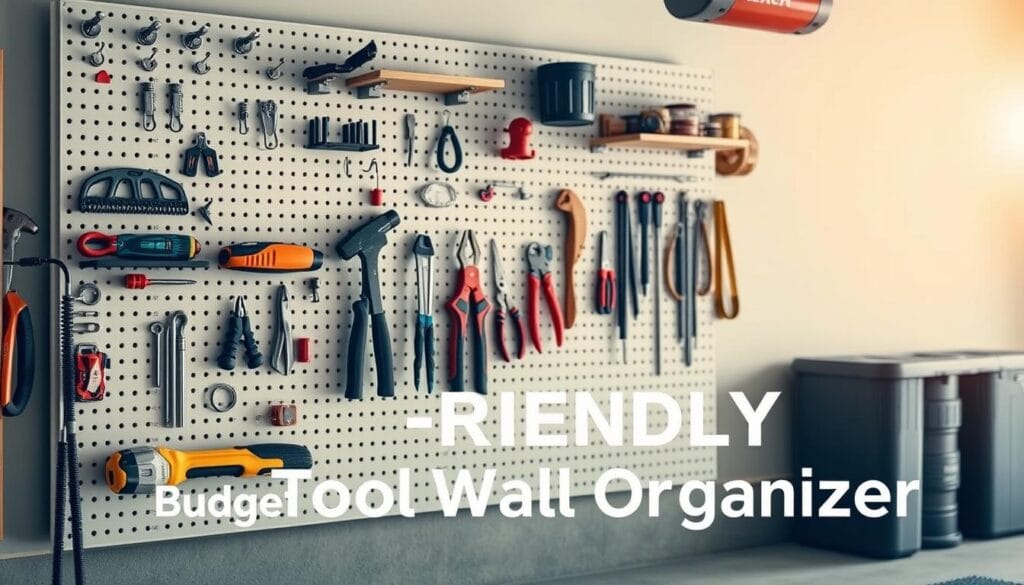
DIY fans can begin with pegboard systems under $50. These systems let you tailor your space without a big cost. Basic wooden pegboards from home stores are a cheap way to start organizing your garage.
Budget-Friendly Options
You can make a tool wall look great with low-cost materials. Try using old pallets, reclaimed wood, and cheap metal tracks. Some people spend under $100 to create a tool storage system that looks and works well.
Long-Term Investment Benefits
A good tool wall organizer saves money in the long run. It keeps tools safe, making them last longer and saving on replacements. Organized tools also mean you work faster and get less frustrated.
Home buyers like organized garages, which can make your house more valuable. A well-thought-out tool wall is a smart, affordable way to keep and show off your tools.
Safety Considerations for Wall-Mounted Tool Storage
When setting up your wall-mounted tool rack, safety comes first. Make sure each tool mount can handle the weight of your tools. Use strong wall anchors made for heavy tools.
Keep dangerous tools away from kids. Think about adding a lock for power tools and sharp objects. Place risky tools high up and organize tools in separate areas. This keeps your space safe and tidy.
It’s important to balance the weight of your tools on the wall. Heavy tools should be near the studs, and lighter ones on the sides. Check the mounts often for any damage. Do a maintenance check every few months to keep everything secure.
Think about how easy it is to reach your tools. Place them at a height that avoids strain or dropping. Make sure there’s room to move around your tool wall. A well-thought-out storage system keeps your tools and you safe.

